
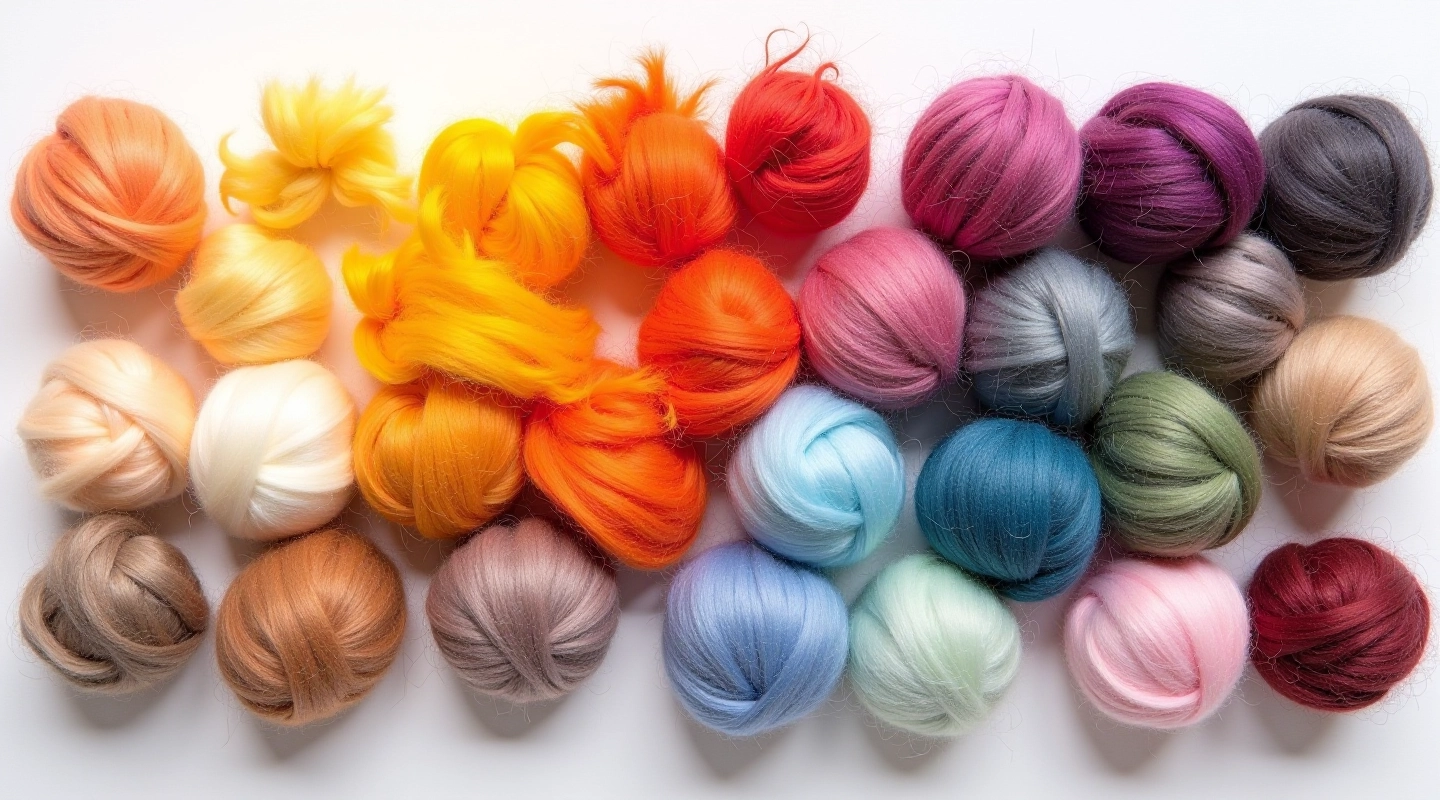
Choosing Your Wool — Fiber Grades Explained
Not all wool works the same way. We break down micron counts, crimp structure, and fiber qualities that matter for felting.
Needles, felting pads, and wool are the core supplies. We explain needle gauges, pad types, and what to avoid when buying your starter kit.
Author
Editorial Team
Written by the sorboique Editorial Team, focused on practical, honest guidance for felt wool craft and needle felting beginners.
When you're just starting out, the needle felting supply list can feel overwhelming. There's a lot of gear out there, and frankly, not all of it's worth buying. We've made plenty of mistakes so you don't have to. The good news? You don't need much to begin. Three things matter most: needles, a working surface, and quality wool. Everything else is optional until you're ready to get serious.
Let's break down what actually makes a difference and what's just marketing noise. We'll cover needle gauges, pad materials, and the wool choices that'll save you frustration. By the time you're done reading, you'll know exactly what to throw in your cart — and more importantly, what to leave behind.
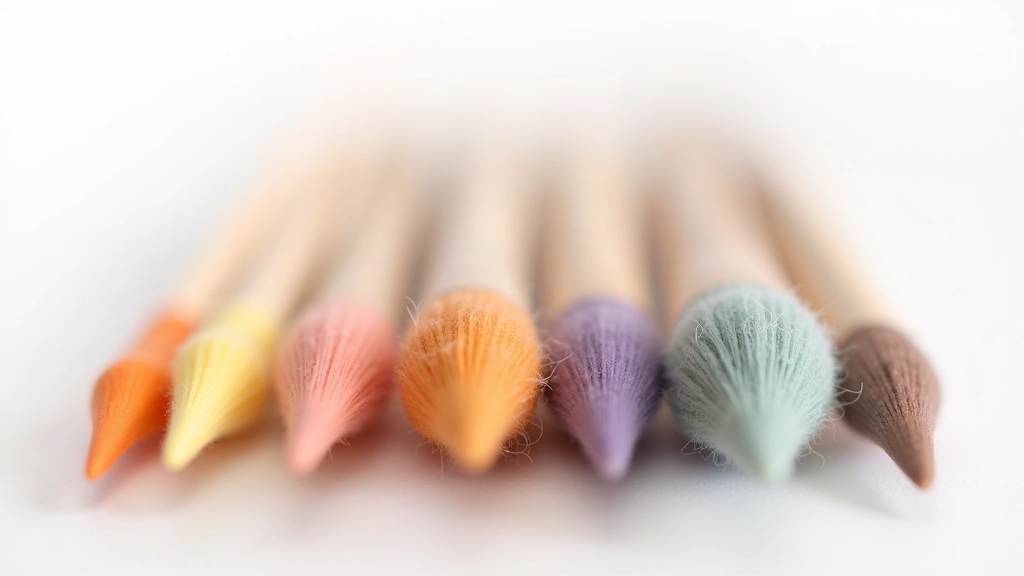
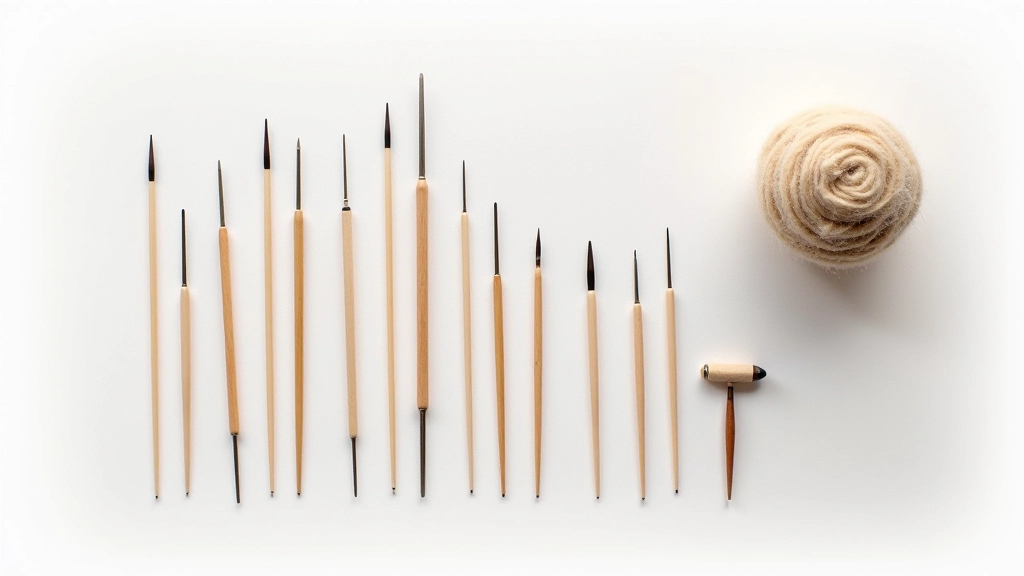
Needle gauges are numbered systems that tell you the thickness of the needle. Here's the thing — bigger numbers mean thinner needles. It's backwards from what you'd expect, but that's how it works. A 38-gauge needle is thick and chunky. A 40-gauge is thinner. A 42-gauge is thinner still. Got it?
For beginners, a 38-gauge is your friend. It's forgiving, moves through wool easily, and won't break as often. The fine-point needles (40 and 42 gauge) are for detail work and finishing. You'll use them later when you want to add facial features or smooth surfaces. Start with one pack of 38-gauge needles — don't buy every gauge at once. You'll waste money.
Pro tip: Needles break. A lot. Budget for replacement packs. You'll snap them accidentally, and that's normal. Buying a bulk pack now saves frustration later.
Educational Note: This guide provides informational content about needle felting tools and supplies. Individual needs vary based on personal preference and project type. We recommend trying different brands and gauges to find what works best for your hands and style.
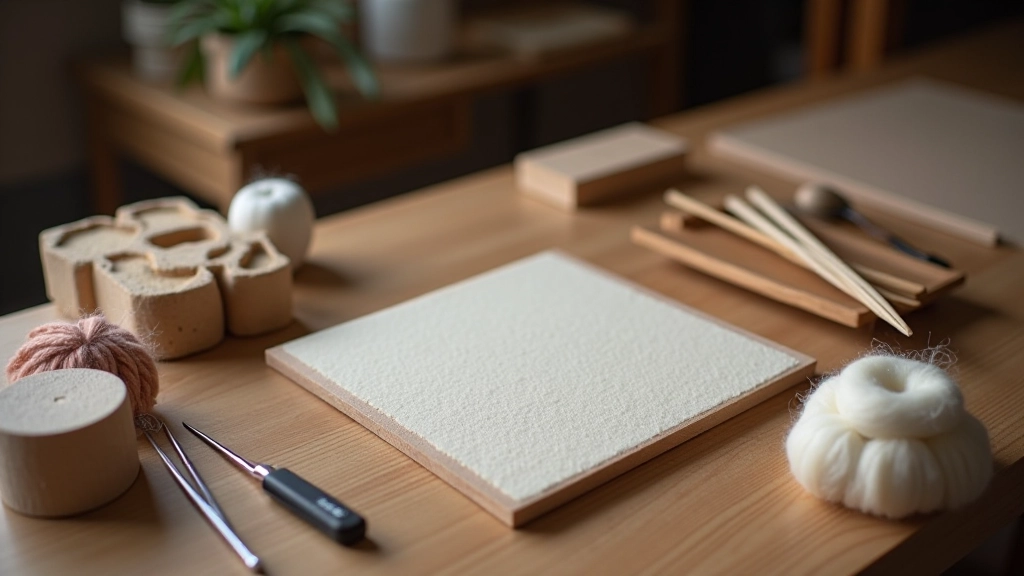
Your felting pad is where the actual work happens. This is your surface. It protects your table, protects the needle, and gives the wool something to work against. There are two main types: foam and rubber. Foam pads are cheaper, lighter, and fine for starting out. Rubber pads last longer, recover better between jabs, and are worth the extra cost if you're planning to felt regularly.
Foam pads get compressed over time. After 20 hours of felting, you'll notice it's harder to work. Rubber pads bounce back. If you're thinking you'll do this more than a few times, grab a rubber pad. It's the difference between buying one pad and buying three foam pads. Do the math — the rubber wins.
Size matters too. You want at least a 4-inch by 6-inch surface. Anything smaller feels cramped. Anything larger takes up desk space you probably don't have. Most people settle on a standard mat around 6 by 9 inches. That's enough room to work comfortably without dominating your table.
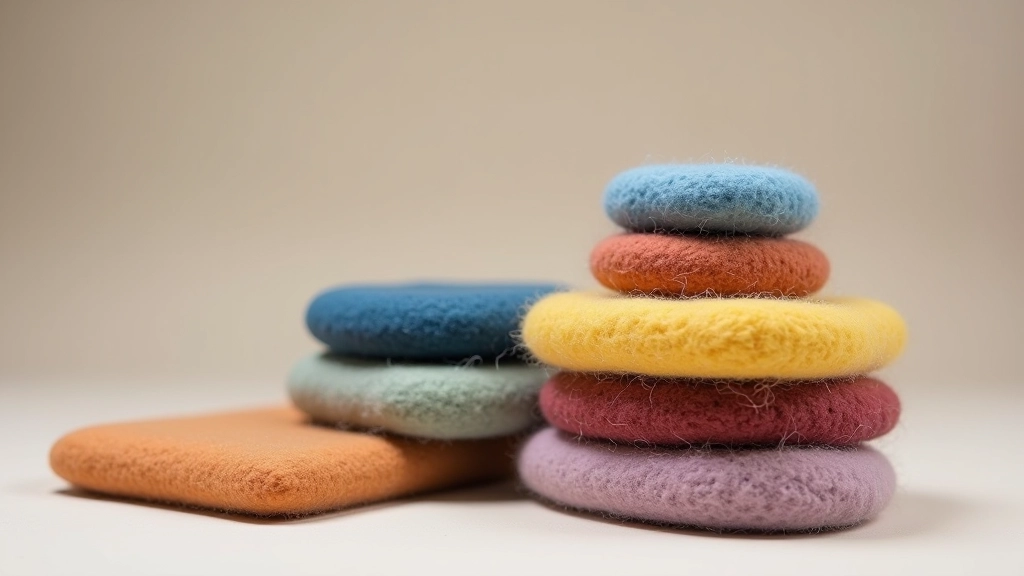
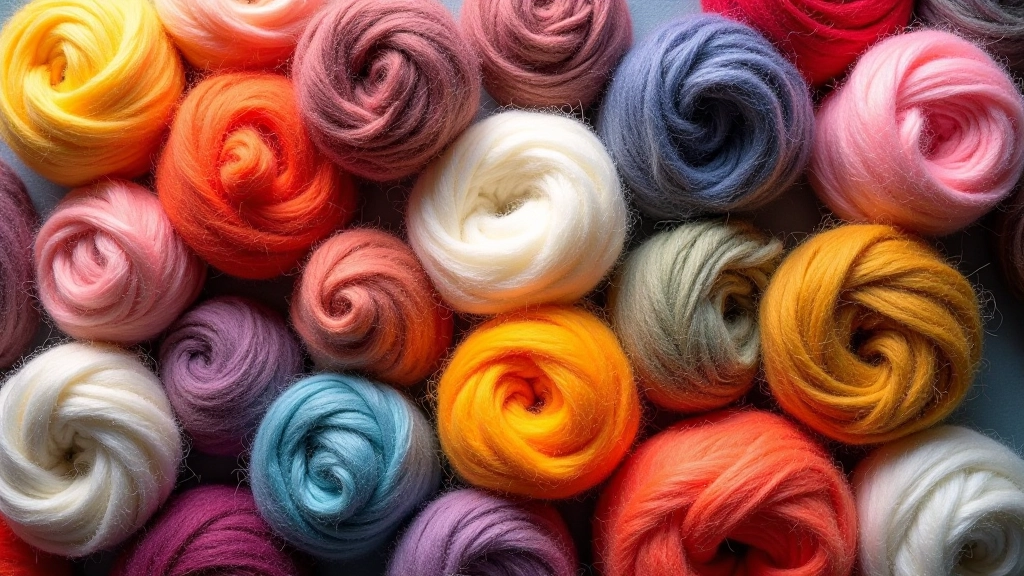
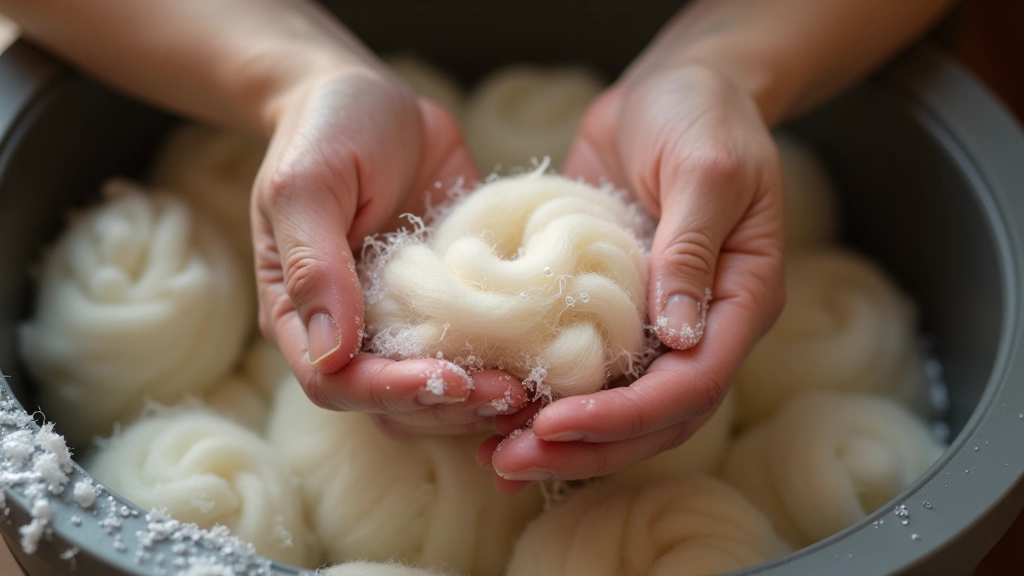
Not all wool is created equal. This is where beginners stumble. Cheap wool with short fibers doesn't felt well. It separates, pulls apart, and frustrates you. Merino wool and Corriedale work great. They've got good fiber length and take a needle well. If the wool package doesn't list the type, skip it.
Roving is the standard form — it's basically carded wool that's loosely twisted. When you order online, look for roving that says "needle felting grade" or "felting wool." It's already prepared for this work. Avoid fancy dyed wools until you've made a few simple pieces. Stick to natural colors and basic dyes while you're learning technique.
A ball roughly the size of your fist uses about 15 grams of wool. Start with a 100-gram pack of a single color. That's enough for 6-7 small projects. You'll learn what works without wasting money on colors you'll never use.
There's a lot of extra stuff marketed toward beginners. Needle holders that spin. Fancy needle organizers. Wool carders. Specialized blocking tools. None of this is necessary when you're starting. You'll waste money and cluttered your workspace.
The one exception? A decent needle holder or pinch pad if your fingers get sore. Some people's hands just respond better to a tool. But this isn't urgent. See if you actually need it after a few projects.
Skip pre-made felting kits too. They're overpriced and usually include needles you won't like and wool in colors you didn't choose. Buy each item separately. You'll spend less and get exactly what you want.
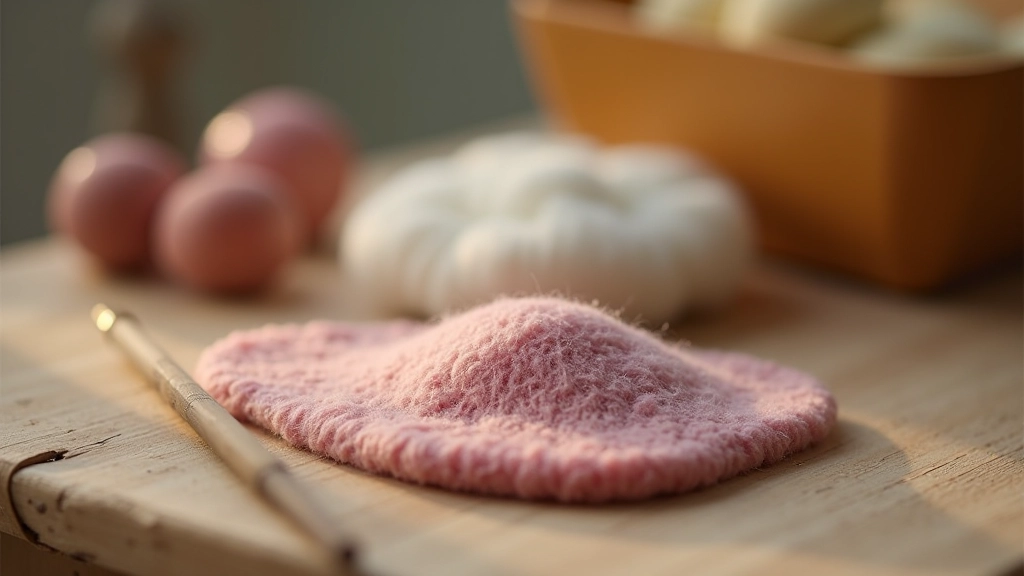
Your actual shopping list is simple: one pack of 38-gauge needles, a rubber felting pad (6 by 9 inches minimum), and a 100-gram pack of merino or Corriedale roving. That's under $25 if you shop smart. Everything else you learn along the way.
The best needle felting tool? It's showing up and practicing. You'll make mistakes with your first few projects — everyone does. The tools matter less than the time you spend. Once you've finished a few pieces, you'll understand what you actually like using. Then you can invest in upgrades that match your style.
Don't overthink it. Get the basics, make something, and see if you're hooked. Needle felting's got a low barrier to entry. That's the whole point.
Not all wool works the same way. We break down micron counts, crimp structure, and fiber qualities that matter for felting.
A coaster or small flat piece teaches you the fundamentals without frustration. Simple projects build confidence.
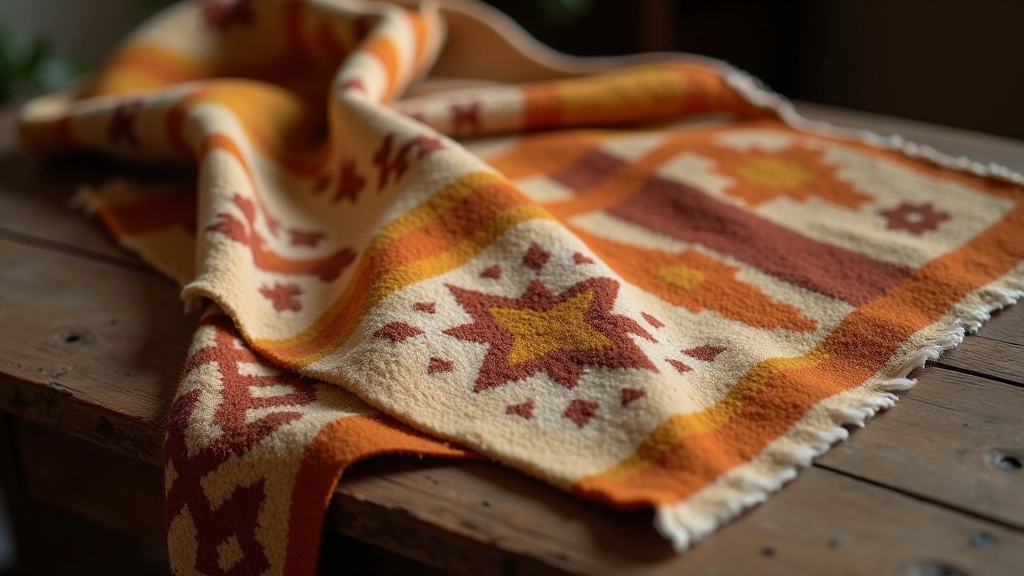
Estonia's Haapsalu region developed distinctive felting practices. Learn about local techniques and traditional methods.