Why Start With a Coaster?
Here's the thing — wet felting looks simple from the outside. You're basically mixing wool with water and agitation. But if you jump into a scarf or a large piece on your first try, you'll hit frustration pretty quickly. The timing gets weird. The heat management becomes confusing. You're not sure if you're applying enough pressure.
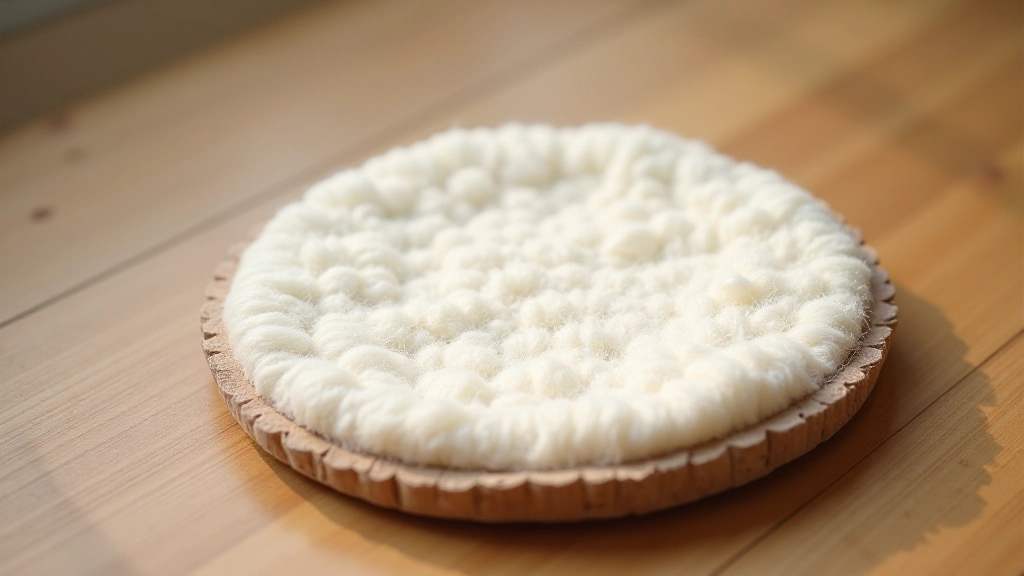
A coaster fixes all of that. It's small enough that you can finish it in one session — maybe 45 minutes to an hour if you're being careful. You'll see the transformation happen in real time. Loose wool fluff turning into actual fabric. It's satisfying. Plus, you can make it again and again, getting faster each time, until the process becomes muscle memory.
What You'll Actually Need
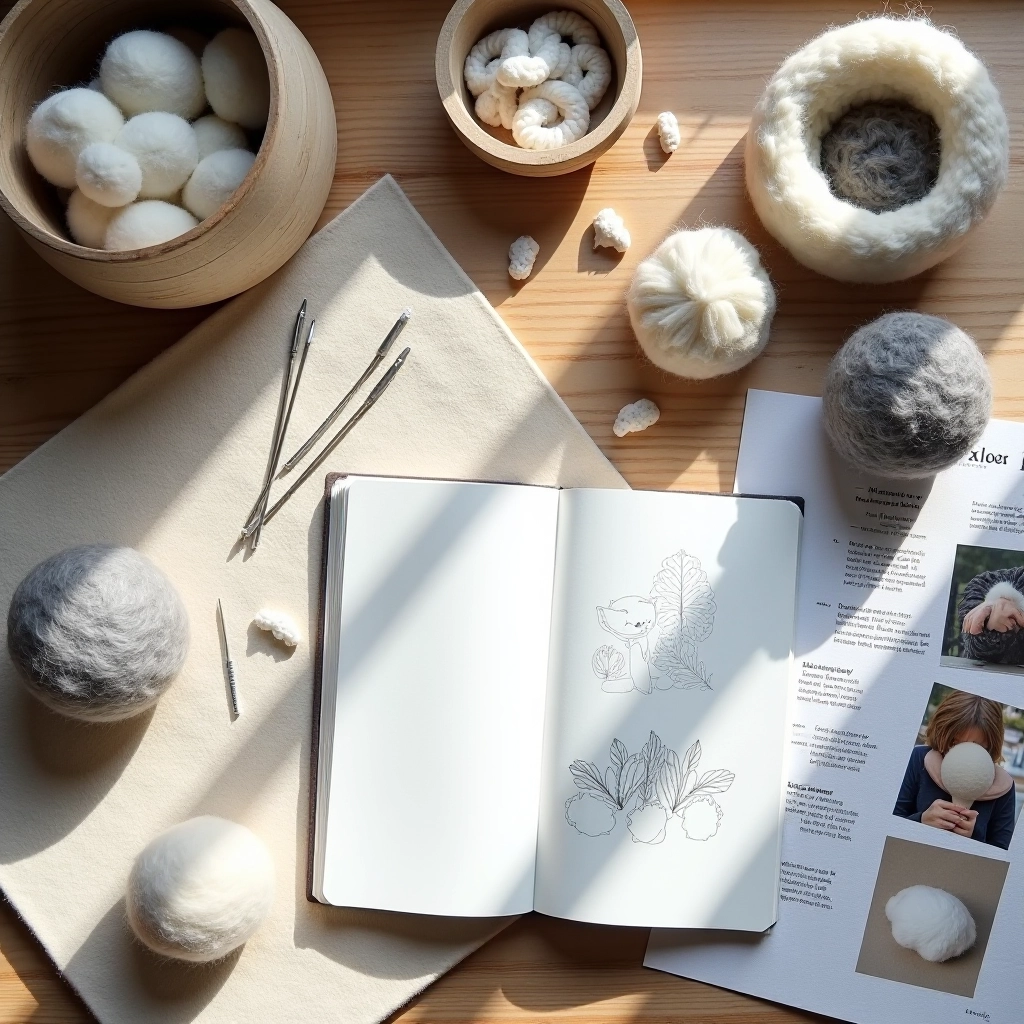
Don't overthink the supplies. You're not building a workshop. You need:
- Wool roving — about 100 grams for a coaster. Any color works.
- A felting mat or bubble wrap — gives you grip while you work.
- Hot water — around 50-60°C (120-140°F). A kettle is fine.
- Mild soap — dish soap works. You're not making it fancy.
- A spray bottle — to keep things damp as you work.
- Towels — old ones. You'll need them.
That's genuinely it. You don't need special equipment or a dedicated space. Your kitchen table works fine.
Note: Wet felting involves hot water and repeated hand motions. Work carefully to avoid burns from hot water. If you have sensitive skin, consider wearing gloves. Always ensure good ventilation when using soap and water. This guide is educational — your experience may vary based on materials, water temperature, and technique.
The Process — Step by Step
The actual process is straightforward. You're working with three variables: heat, friction, and time. Get those roughly right and you'll felt something. Mess them up and you'll have a wet mess. Here's how to nail it.
Lay Down Your Base
Place your felting mat on a table. If you're using bubble wrap, bubbles facing up. Take your wool roving and lay it down in layers — this is important. You want the fibers going in different directions. Lay down a layer going left-to-right. Then layer another going front-to-back. Then diagonal. Three to four layers gets you there. Your square should be roughly 20cm x 20cm (8 inches x 8 inches).
Get It Wet and Soapy
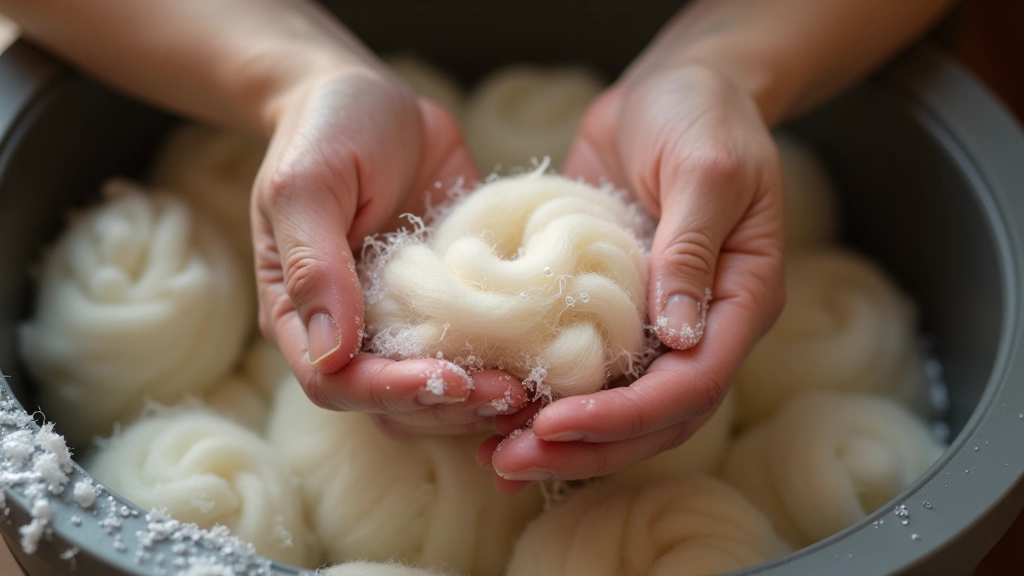
Mix hot water with a tiny bit of soap in a spray bottle. The water should be hot but not scalding — you need to touch it without pain. Spray your wool layers generously. The whole thing should be damp but not dripping. Sprinkle a tiny amount of dry soap powder directly on top. You're not washing it like laundry. You want just enough soap to reduce friction between fibers.
Start the Agitation — Gently
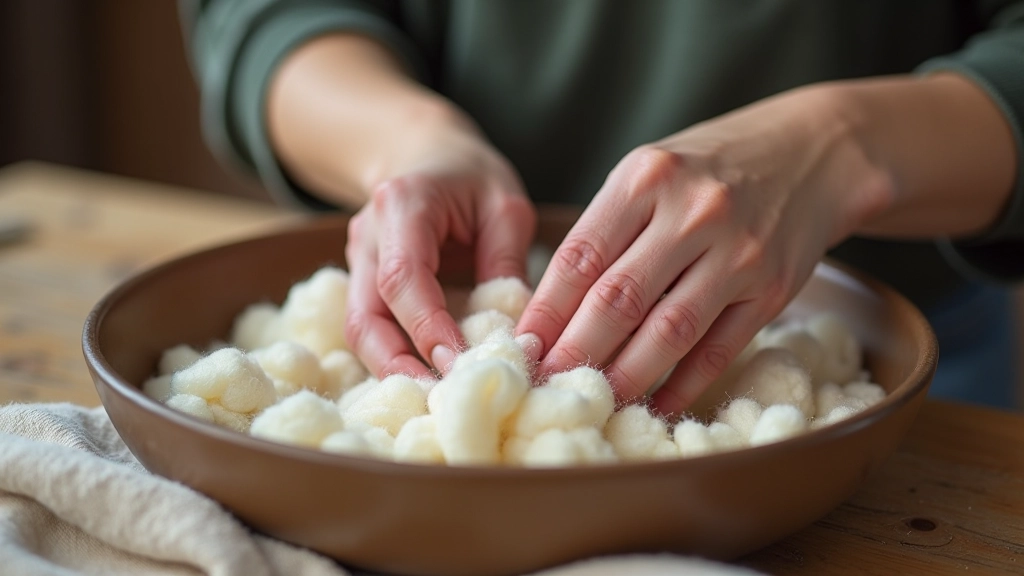
Put your hands flat on top and press down gently. You're not massaging yet. Just applying light pressure while your fingers make small circles. Do this for about 5-10 minutes. The fibers will start to stick together. You'll feel it. The whole mass becomes more cohesive instead of staying loose and fluffy. Your pressure should feel like you're petting a cat, not kneading bread.
Increase Friction Gradually
Once the fibers start bonding — usually around the 10-minute mark — you can increase pressure. Use your whole hand and make slightly larger circular motions. You're creating friction now. This is where the actual felting happens. Continue for another 15-20 minutes. Re-spray with hot soapy water every few minutes. The temperature dropping is your enemy. Keep it warm.
Roll and Compress
When your piece feels like it's holding together — usually after 25-30 minutes total — it's time to roll. Wrap it in a towel. Roll it back and forth on your table for 5-10 minutes. You're compressing it now, finishing the felting process. You'll feel the fabric getting denser. Unwrap it. If it's still damp, give it one more minute of hand agitation. Then rinse thoroughly in cold water to remove all soap.
Dry and Finish
Squeeze out excess water gently. Lay flat on a towel to dry. It'll take 24 hours or so depending on thickness and humidity. You're done. You've got a coaster. It's probably uneven. It might have wrinkles. That's totally normal for your first one.
The Three Things That Actually Matter
People ask about all kinds of details. Different wool types. Different water temperatures. Special felting needles for wet felting (you don't need them). Here's what actually changes the outcome:
Temperature: Hot water opens up the scales on wool fibers. Cold water closes them. You need hot. Not boiling, but definitely hot. This is non-negotiable.
Timing: You can't rush this. If you apply heavy pressure for just 5 minutes, nothing happens. You need sustained agitation. 30-40 minutes for a coaster is standard. Rush it and you'll end up with a damp piece of wool that falls apart when you move it.
Pressure: Start light, finish heavy. If you start with hard pressure, you'll just compress the layers without felting them together. If you end light, you won't get the density you need. Build it gradually.
What Goes Wrong and How to Fix It
Your first coaster probably won't be perfect. That's fine. Here's what you might encounter:
It's still fluffy and falls apart: You didn't apply enough agitation or your water wasn't hot enough. Or both. Next time, go longer and keep the temperature up.
It's way too thin: You used too little wool. Double your amount next time. Three to four layers of roving is the baseline for a usable coaster.
It's got wrinkles or bunched sections: This happens when you roll it. Smooth it out before rolling and go slowly. It's not a big deal though — these wrinkles often add character.
It shrunk more than expected: Wool felting shrinks 20-30%. That's normal. Plan for it. If you want a 15cm coaster, start with something closer to 20cm.
From Here
Once you've made a coaster or two and you understand the feel of the process, you can expand. Try a larger piece. Try different colors — layering them creates interesting effects. Try wet felting with different fiber blends.
But honestly? Start here. The fundamentals don't change whether you're making a coaster or a jacket. Heat, timing, pressure. Master those and everything else is just scaling up.
Your first piece won't be gallery-worthy. That's not the point. The point is understanding how the fibers behave, how the heat works, how much pressure is enough. That knowledge carries into everything you make after this.